Big Walk Towers Guide — What Each Tower Unlocks (Red, Yellow, Blue, Green, Black)
Published 2026-09-215 min read
All five Big Walk towers and what they unlock: red opens the map room, yellow the tunnels, green the chairlift, blue the trains — and black ends the game. Plus how key cutting chains work.
Big Walk's five towers are the spine of the whole island: each one ends in a key, and each key wakes up a piece of the island — the map room, the tunnels, the chairlift, the trains, and finally the way to the first ending. This page is the one-screen overview of which tower unlocks what; the deep, step-by-step routes live in the per-tower guides.
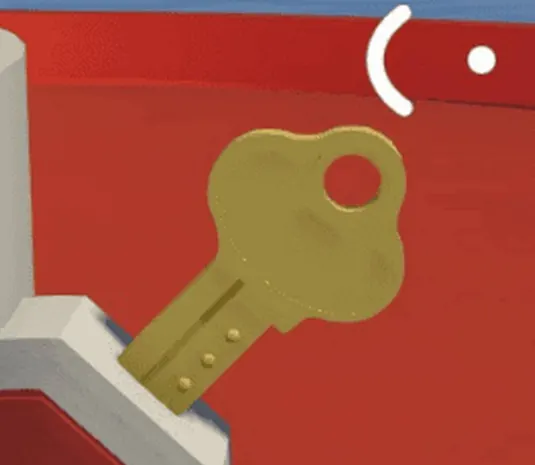
The tower-by-tower cheat sheet
| Tower | Key opens | What it gives the group |
|---|---|---|
| Red tower | The map room | A proper indoor overview of the island (coordinates basics) |
| Yellow tower | The tunnel entrances | The tunnel network — the fastest way between regions |
| Green tower | The chairlift | Aerial access to the eastern ridge and the purple challenges |
| Blue tower | The trains | Three scenic loops connecting the island (train guide) |
| Black tower | Itself — after the four coloured towers | The path to the first ending |
A note on names: red/yellow/green/blue/black are the community's colour shorthand — House House never officially christens the towers. Everyone at the trailhead knows them by colour, so this guide does too.
The first key: the drawbridge (your tutorial tower)
Technically before the towers comes the starter sequence: the drawbridge. Four tutorial co-op puzzles, four blorbs traded for a raw key, five cutting machines — and your first taste of the loop every tower repeats. The full route is in the drawbridge guide; if your group has not done it yet, start there, not here.
The key chain, explained once
Every coloured tower runs the same endgame rhythm, and understanding it saves an hour of wandering:
- Solve the tower's environmental puzzles to earn blorbs (the gourd-shaped collectibles).
- Trade blorbs at the top for a raw key blank — an unusable lump of metal.
- Follow the arrow markers to the tower's cutting machines, usually five, often ringed around the area below.
- Pass the blank through every machine in arrow order. The last one releases the finished key.
The trap veteran groups warn about: earning the key and never using it. The four "easy to miss" achievements — Big View, Big Sit, Big Tunnel, Big Ride — are all cases where a group finished a key and left the thing it opens untouched. Make it a rule: key finished, next stop is the thing it starts. The full achievement logic is in the all achievements guide.
What each unlock changes about the island
- Red → map room. Bring the key to the grand staircase beside the tutorial area. One room, big payoff: a readable model of the whole island that makes every later hunt (backpacks, radios) faster.
- Yellow → tunnels. The tunnel gates open and the island compresses — tunnels move the group between regions faster than any other transport, which is why speedrunner-minded groups unlock yellow early.
- Green → chairlift. The chairlift station comes alive and the eastern ridge — where every purple challenge waits — becomes a ride instead of a trek.
- Blue → trains. Three colourful trains loop the mountainside routes. Charming, slow, scenic: the transport of choice for groups with more banter than urgency.
- Black → the ending. Once the four coloured towers stand unlocked, the black tower opens by itself. What waits past it is the first ending — and beyond that, the hidden room, the purple challenges and the true ending's Big Game achievement.
Is there a "correct" tower order?
No hard gate forces one, but the community's default makes sense: red first (the map room pays for itself immediately), yellow next (tunnels shrink every later errand), then green and blue in whichever order suits the group's goals — challenge-seekers go green, collectors go blue — and the black tower whenever it opens. The beginner guide walks a first-timer through that same order with the early puzzles in detail.