Big Walk Items Guide — Every Tool, Where to Find It and What It Does
Published 2026-08-17Updated 2026-09-218 min read
The complete Big Walk item compendium: 24 tools and wearables with spawn locations and uses — backpacks, compass, cowbell, flare gun, GPS tracker, lantern, radios, whiteboards and more.
The island is littered with gadgets, and every one of them solves a specific problem — finding your friends, lighting a tunnel, or hauling more gear. Here is the full compendium: what each item does, and where the island parks it.
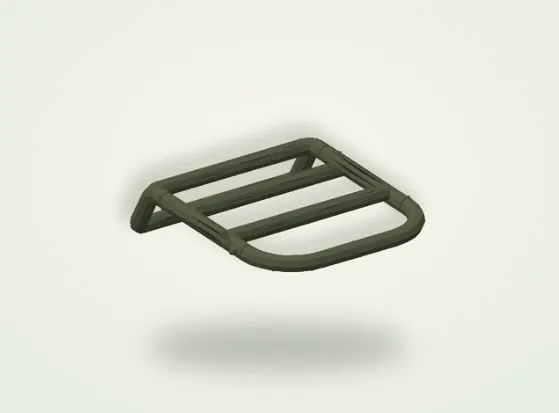
Bags and wearables
Backpack
Where: the giant blue basket-shaped buildings scattered around the map — nine of them exist. Use: carries one item on your back. Teammates can pluck items off it and use them. Needs a friend to strap it on — see the backpack locations guide.
Panel-parts bag
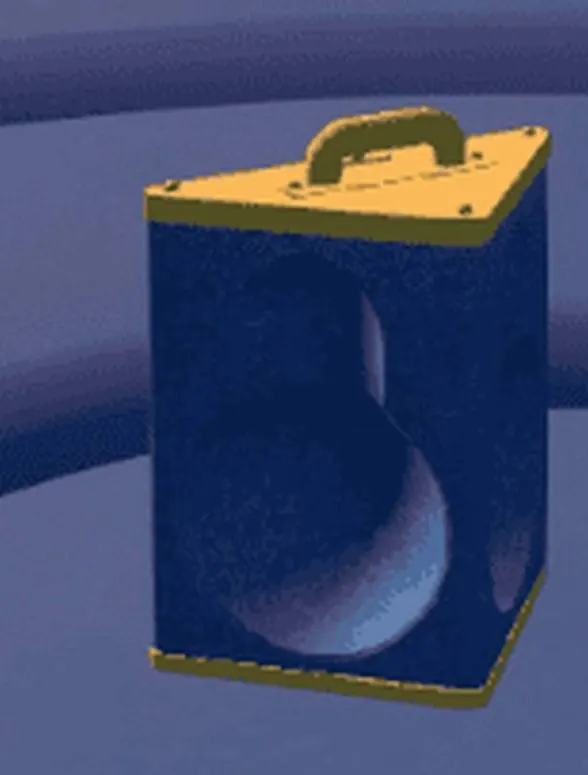
Where: beneath the weather balloon. Use: hauls two control panel parts at once. The bag for the endgame key grind.
Hip pack
Where: also inside the blue basket buildings. Use: one item at your waist, on top of whatever your backpack and hands hold. Equipped by a teammate, same rule as the backpack.
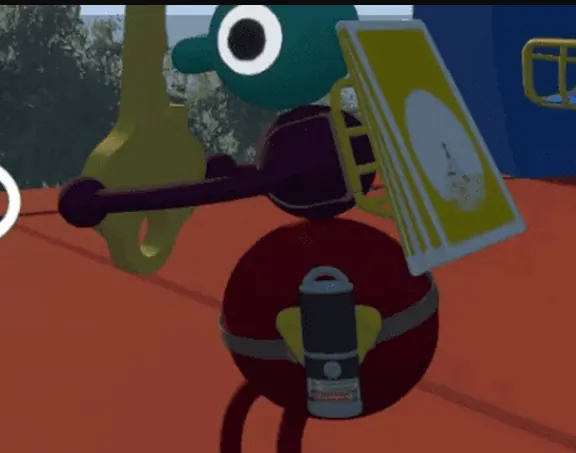
Navigation and observation
Binoculars
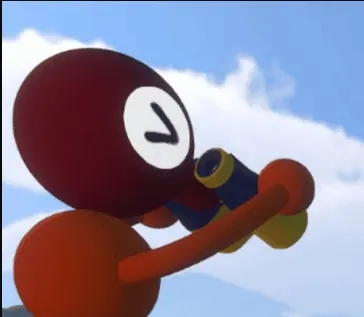
Where: the top of every tower with a control panel. Use: long-range viewing — spot routes, friends, and puzzle details before committing to a climb.
Compass
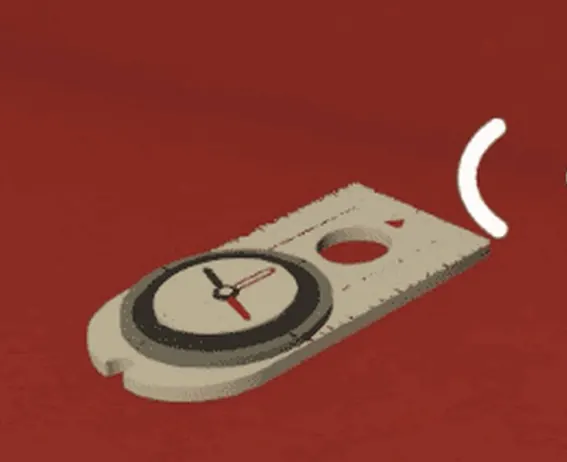
Where: inside the map room. Use: pairs with the paper map to turn coordinates into a heading. The map coordinates guide shows how the two work together.
Portable map
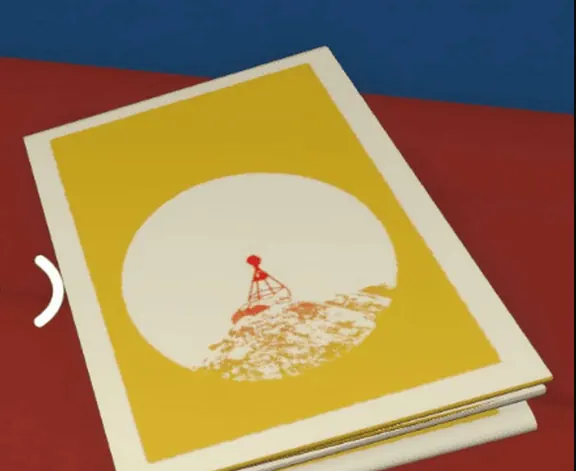
Where: on the table inside the map room — the blue building below the red tower (not the blue tower; different buildings). Use: check the island layout while hiking.
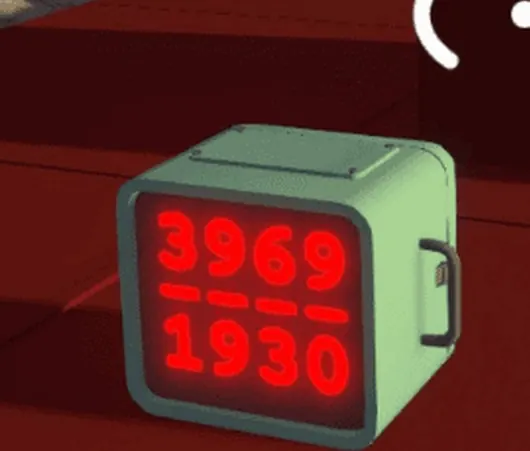
GPS / coordinate tracker
Where: in the red square building below the green tower, near the chairlift station. Use: shows your exact live coordinates on its red display, and two puzzles require holding it.
Telescope
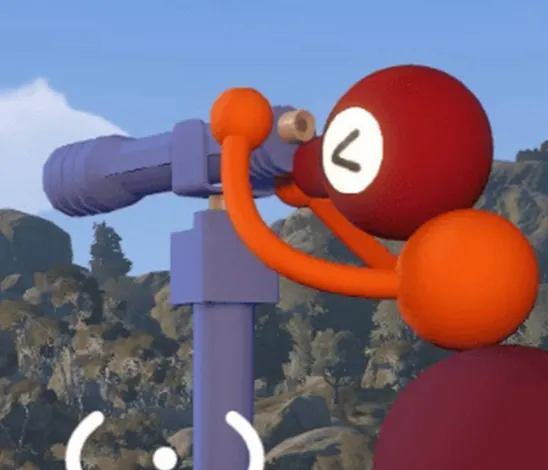
Where: on platforms around the map. Use: each one feeds its nearby puzzle, usually as the reading end of a code.
Light and signals
Lantern
Where: the tutorial area, beside landmarks, and scattered pretty much everywhere. Use: floods a wide amber circle of light — essential for the tunnels. Also a parking lot for "remember this junction".
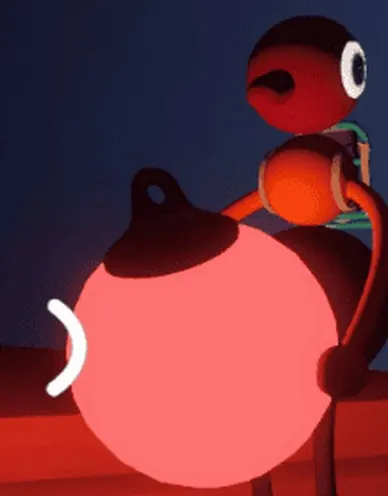
Directional flashlight
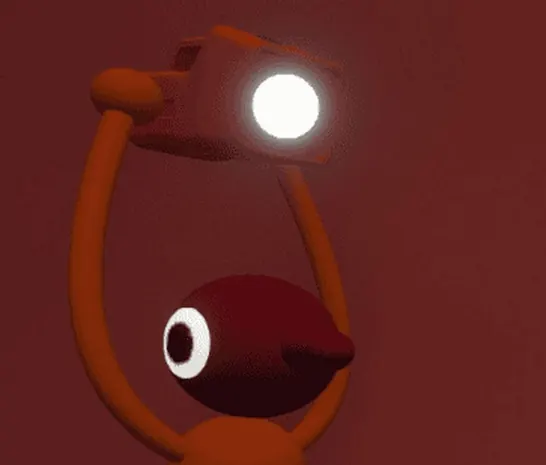
Where: inside every control-panel tower. Use: points a focused beam at whatever needs lighting, no spill.
Laser pointer
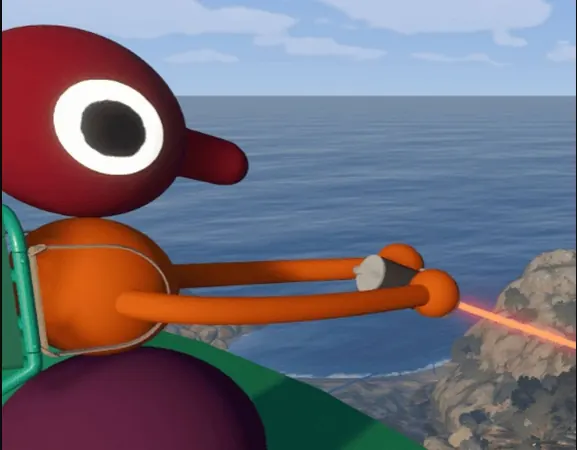
Where: the top of every control-panel tower, plus three more inside the map room. Use: point at distant targets — the classic "go THERE" tool when directing friends from a summit.
Flare terminal
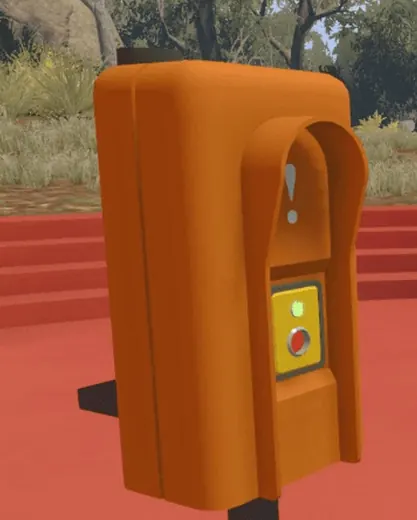
Where: key spots across the island: along the path down from the tutorial exit, next to the map room, and on top of all control-panel towers. Use: one button press launches a bright beacon — the group's universal rally signal.
Flare gun
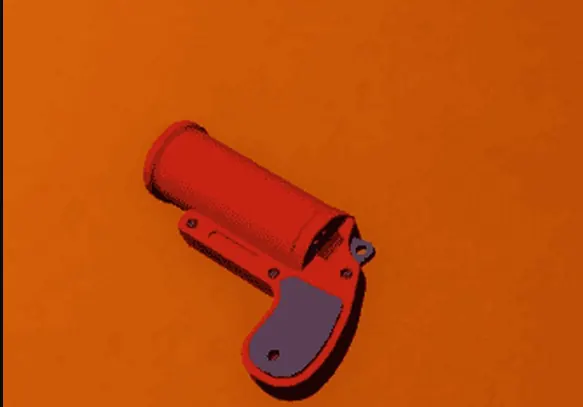
Where: inside the ring-shaped buildings around the map — four buildings, four guns. Use: fires a smoke signal that illuminates the surroundings, on a 20-second recharge. Comes in red, green, yellow and blue.
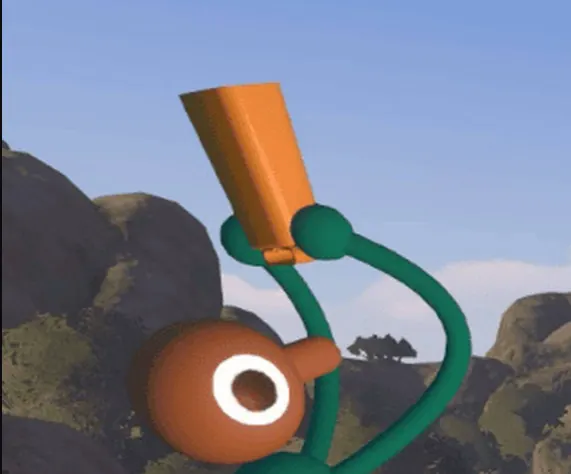
Cowbell
Where: inside the tutorial area. Use: an audio beacon — ring it and distant teammates can hear exactly where you are.
Communication
Walkie-talkie
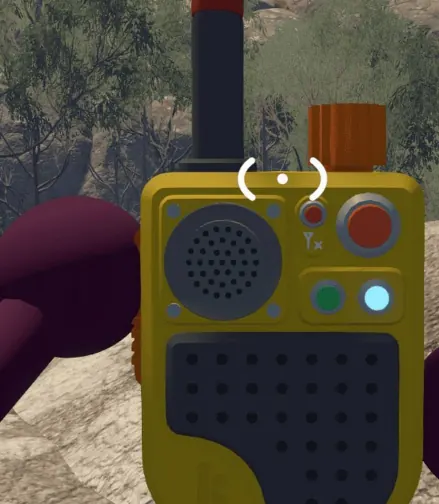
Where: three sets — on the yellow frame overlooking the gorge below the red tower, beside the red tunnel in that gorge, and on the mid-island hillside visible from the blue tower. Use: far-range voice once you leave whisper distance. The single most valuable pickup for a splitting group.
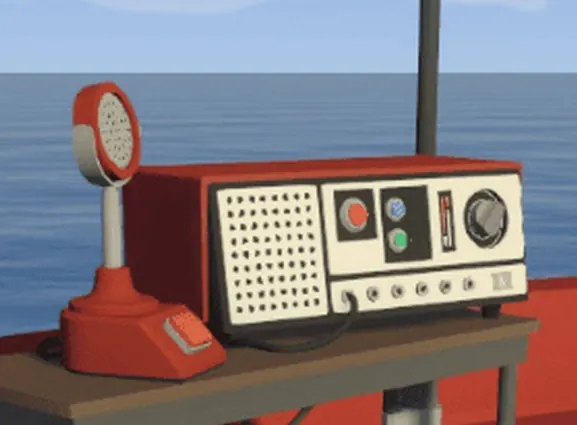
Radio receiver
Where: beside landmarks everywhere — tower tops, next to the map room, even on the train. Use: hold the button on the transmitter's microphone and your voice carries to every receiver on the island. The backbone of cross-map chat, and the key to the radio song unlocks.
Megaphone

Where: three exist, all mounted on yellow blocks — near the yellow tower, near the green tower, and near the purple tunnel. Use: blasts your voice across a huge area. Testing confirms it carries absurdly far. Full locations, boost technique and carry rules in the megaphone guide.
Whiteboard
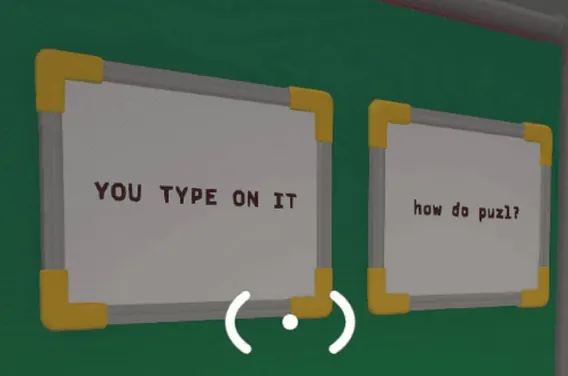
Where: three beside the map room, one more behind the coordinate tracker below the green tower. Use: leave written notes for the group — routes, codes, grocery lists.
Puzzle gear and miscellany
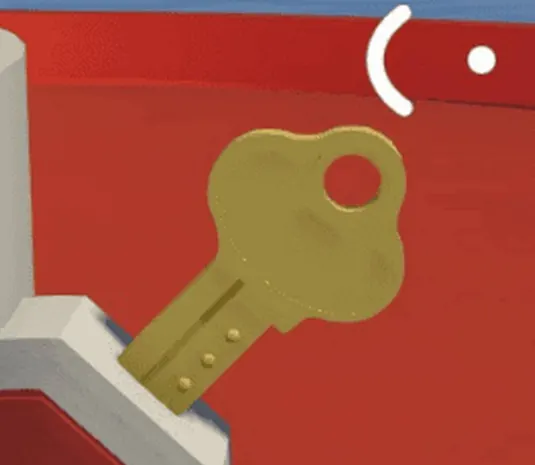
Golden key
Where: behind every control panel on the island. Use: the raw blank that cutting machines shape into the key that opens special buildings, rooms and passages.
Red control panel part
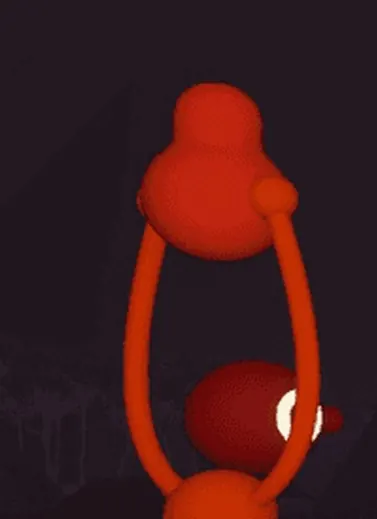
Where: awarded at puzzle sites all over the map. Use: the currency of the panel behind each tower — deliver the parts, receive the golden key blank.
Control panel
Where: the hub of each colored tower. Use: turn in its parts, flip the mechanism, collect your key. The core loop of the game.
Timer
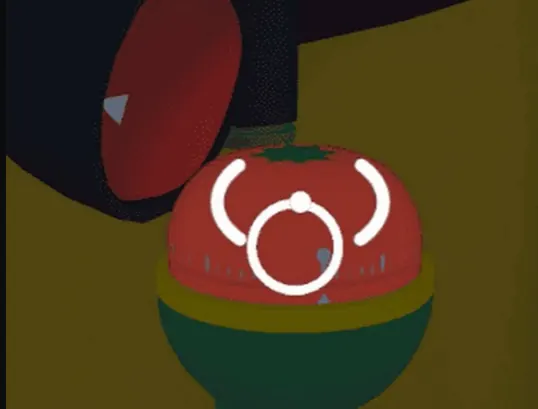
Where: at various puzzle sites. Use: a puzzle component — usually needs hauling somewhere and placing under time pressure.
Golden visor
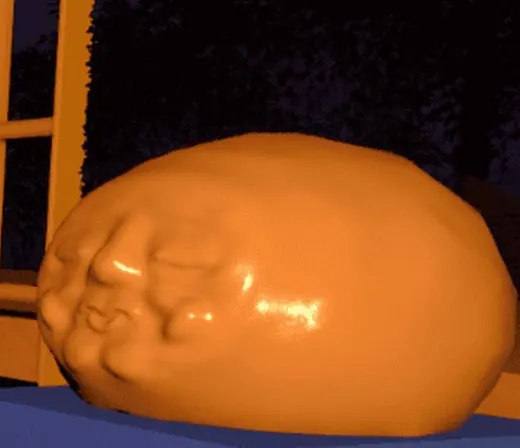
Where: outside the blindfolded obstacle-course puzzle near the blue tower. Use: required wear for that puzzle. Vision is mostly blocked, but a few colors leak through.
Paintbrush
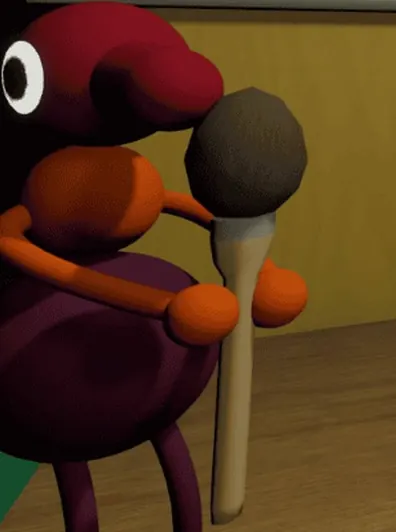
Where: inside the appearance customization room. Use: paint teammates in new colors — which is also how the Big Makeover achievement gets unlocked.
Portable radio
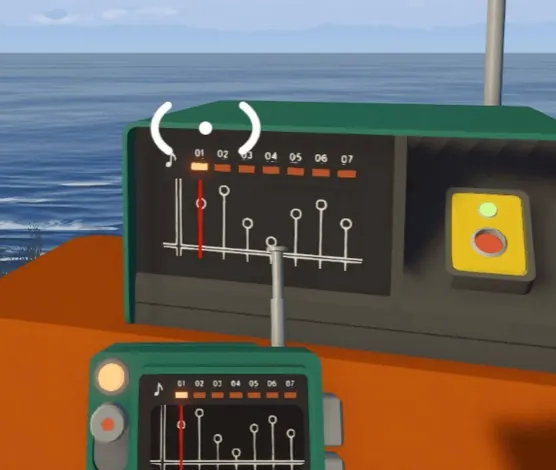
Where: next to the first radio in the passage, just past the first music area. Use: after activating all seven stations it plays every unlocked track; the radio music guide has the full channel list.
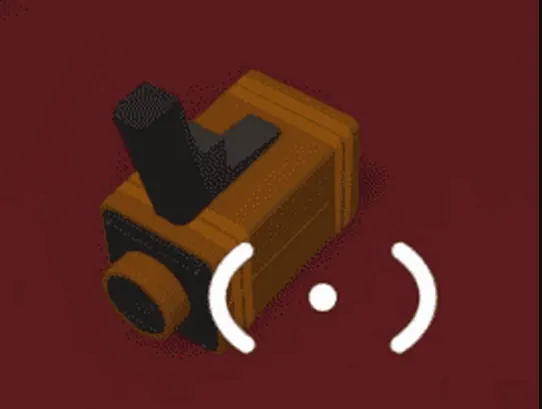
Item scanner
Where: beside the flare terminal near the tutorial area, and inside every control-panel tower. Use: highlights usable items with a yellow cross — the official lost-and-found device.
Collecting gear goes faster with a route: the beginner guide orders the towers so each trip also passes a backpack hut, and the chairlift shaves the worst climbs off any scavenging loop.