Big Walk Controls & Core Items — Quick-Reference Starter Sheet
Published 2026-08-21Updated 2026-09-185 min read
A one-page Big Walk starter sheet: every PC control worth memorizing, the two settings that prevent motion sickness, and the five core items to grab in your first session.
Most Big Walk questions in a new group's first hour are the same five: how do I climb, why is the camera weird, what should I pick up, and how do we find each other. This quick reference answers all of them without the lore — bookmark it and keep a second monitor handy.
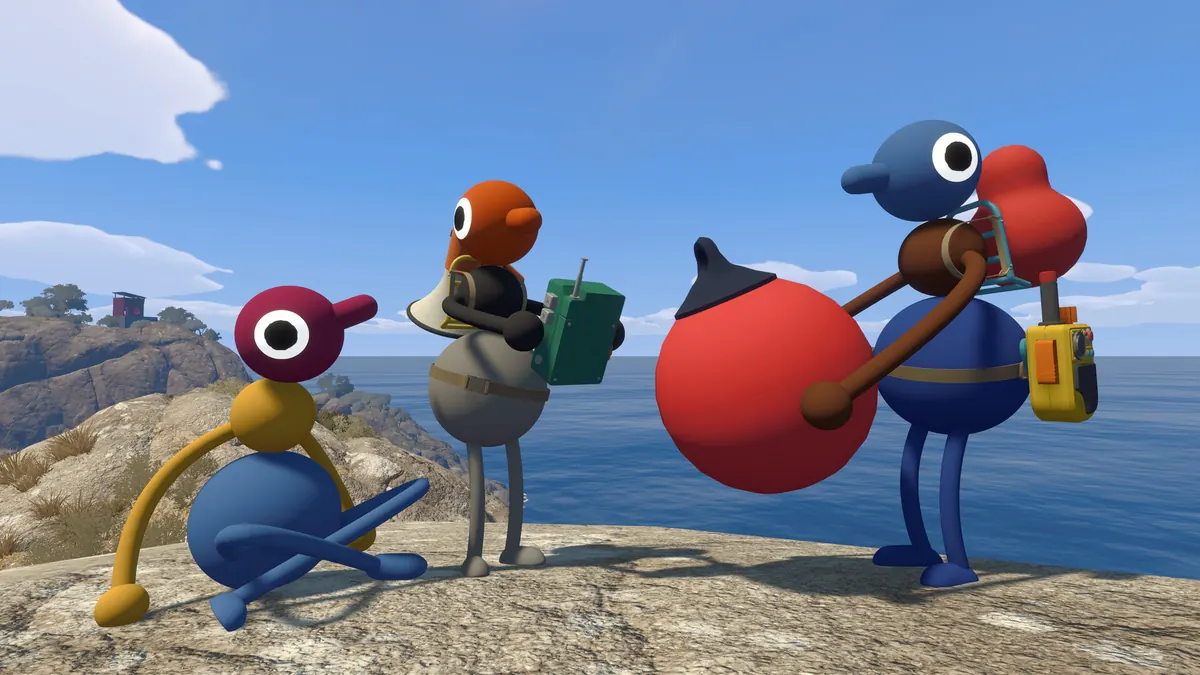
PC controls that matter
| Input | Action |
|---|---|
| WASD | Move |
| Space | Jump — chained hops are faster than running, and the only way up steep slopes |
| Q | Raise left arm |
| Q + Left click | Extend left arm sideways |
| E | Raise right arm |
| E + Right click | Extend right arm sideways |
| Q + E | Raise both arms (wave, signal, or grab a ledge) |
| Left click on teammate | Pick up / lift a teammate when the white ring shows |
Falling never hurts — no health bars exist — but whatever you are holding drops where you land. If it vanishes into grass, a scanner pass will highlight it.
Two settings to change on day one
Motion sickness is the most common complaint in this game, and both fixes live in the settings panel:
- Controls tab — lower the camera sensitivity.
- Graphics tab — widen the FOV. The default narrow view while sprinting is what turns stomachs; a wider field flattens it out considerably.
The five items every trekker should carry
1. Backpack
Blue cylinder huts dotted around the island hold wearable backpacks. They are what raise you from one carried item to two, and a teammate has to strap it on you — you cannot equip your own. Once it is on, it stays on for the session.
2. Walkie-talkie
The only personal tool that keeps voices connected past arm's reach. In-game voice chat fades beyond a couple of meters, so the moment your group splits to cover two puzzles, walkie-talkies are the difference between coordinating and yelling at seagulls. Multiple sets spawn: one on the yellow frame above the gorge by the red tower, one near the red tunnel in the same gorge, and one on the mid-island hillside that the blue tower overlooks.
3. Lantern
Your light source for dark tunnels and overhangs, and a deployable landmark — park one at any junction worth remembering. Left-click to pick up and light it, and when you set it down, aim away from its stand or you will slot it right back into place.
4. Scanner
The lost-and-found device. Sweep it and every usable item nearby lights up with a marker, grass and crevices included. There is one near the signal tower by the tutorial area, and more inside the puzzle towers. Before four people crawl around a hillside hunting a dropped gear, send one person around with the scanner.
5. Flare terminal
Technically fixed infrastructure rather than a pocket item: red-button terminals stand on tower tops, beside the map room, on the central peak, and along main ridges. Press one and a bright beacon pops into the sky — the fastest regroup signal in the game.
Where to go from here
Once everyone has a pack and a radio, follow the tower route in our beginner guide to unlock the map, tunnels, train, and chairlift in the right order. For deeper habits — lifting teammates, gesture codes, shortcut etiquette — the beginner tips list covers the rest. And when someone inevitably drops the key into a lake, our map coordinates guide will help you describe exactly where it sank.