Big Walk Chairlift Unlock — Green Tower Puzzles with Coordinates
Published 2026-08-11Updated 2026-09-189 min read
The full Big Walk chairlift walkthrough: five green tower co-op puzzles with map coordinates, where the raw key spawns, all five cutting machines, and the station slot.
The chairlift is Big Walk's premium shortcut — it whisks you between the lowlands and the heights in seconds instead of switchbacks. It is not available at the start: unlocking it means clearing the green tower's five co-op puzzles, shaping the key through five cutting machines, and slotting it into the station console. This guide carries the exact map coordinates for every step, and it works the same on PC, PS5, and Switch 2.
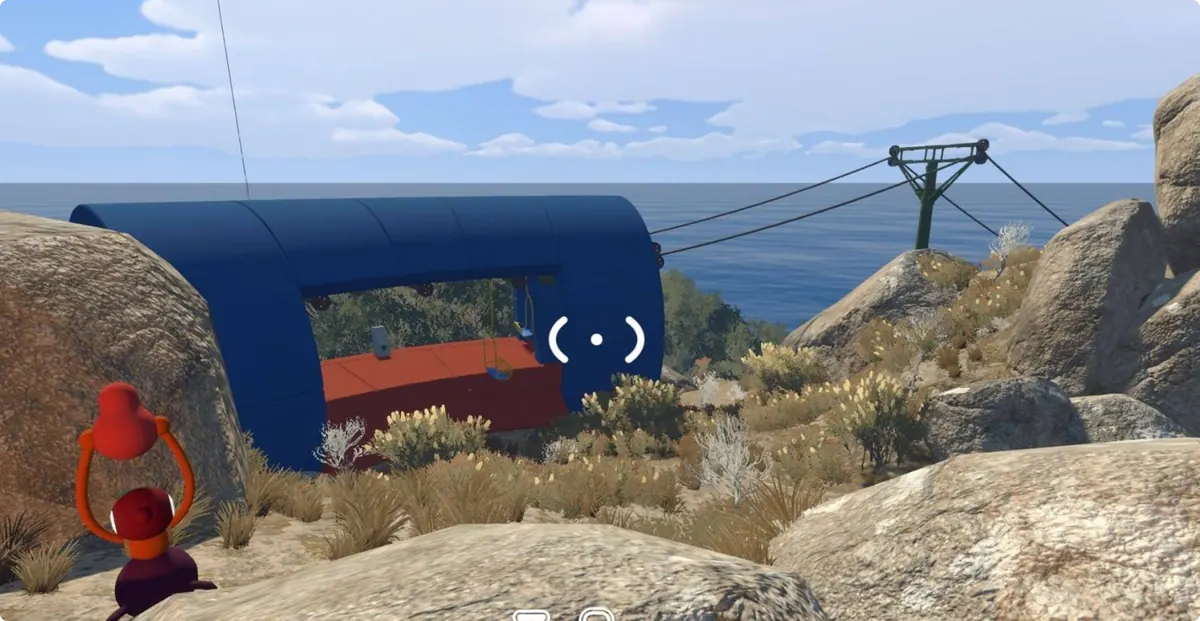
The three anchors
- Green tower: (3930,1900) — puzzle hub and key source.
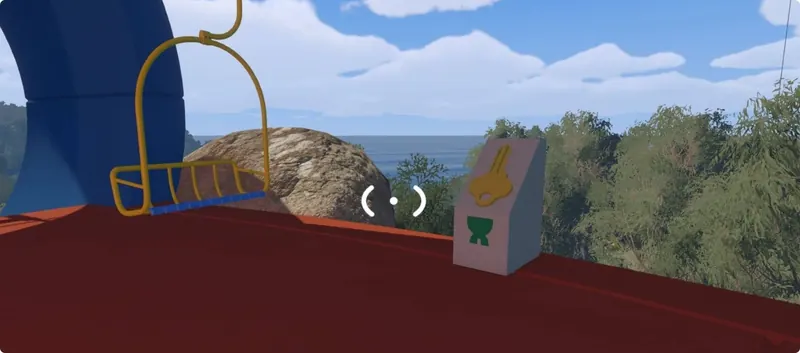
- Chairlift station: (3950,1950), right next to the tower — blue structure, red floor, and the key slot in its center.
- Raw key: behind the control panel at the top of the green tower, once all five puzzles are cleared.
If the coordinate format looks foreign, our map coordinates guide explains the grid in two minutes.
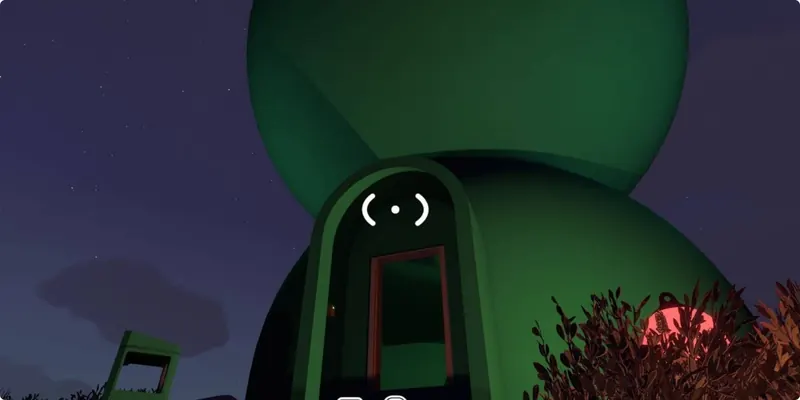
Puzzle 1 — The green house (3825,1930)
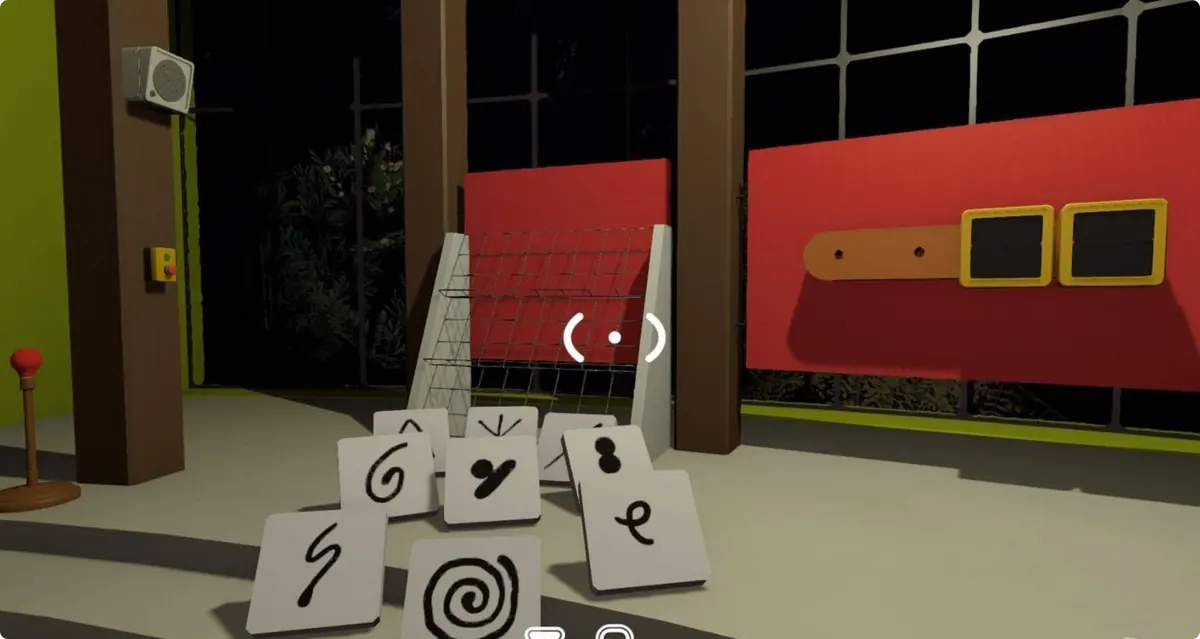
A yellow-green building on the tower's north side, split into two locked rooms. Each room holds nine tiles and a display board: the left board is missing its first two tiles, the right board its last two. The rooms are sealed from each other, so information flows through two channels only — the left player can flash numbers and order through a red signal lamp, while the right player can speak over a broadcast voice line.
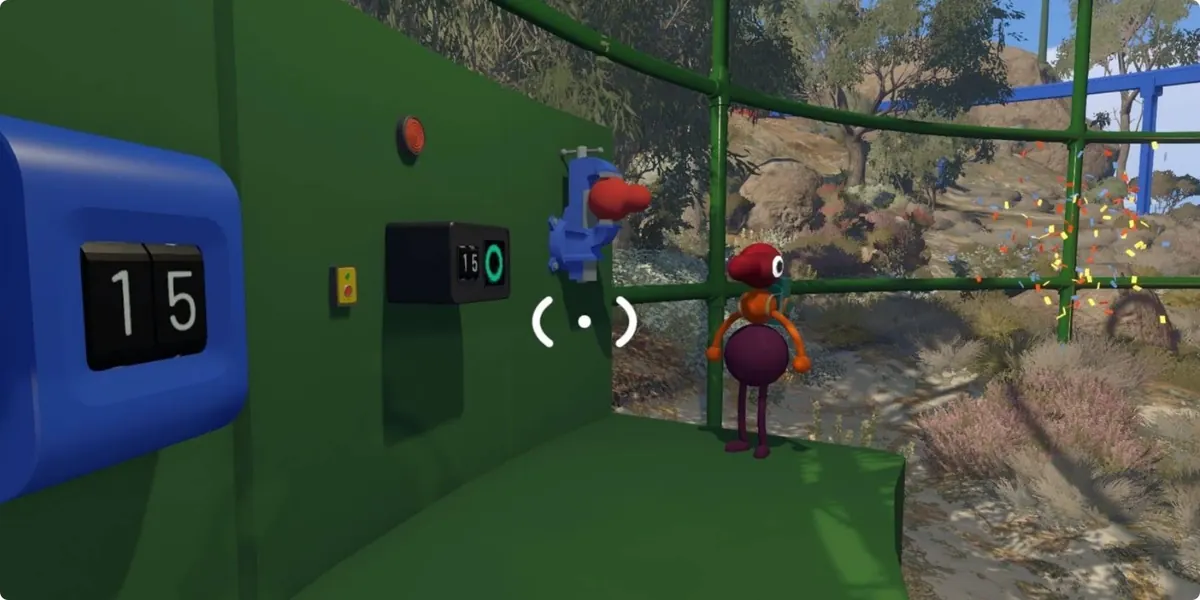
The fix: the right room reads its tiles aloud and talks the left player into matching arrangement. When both boards display identical symbols, the left player presses the red button under their screen. Confetti, solved.
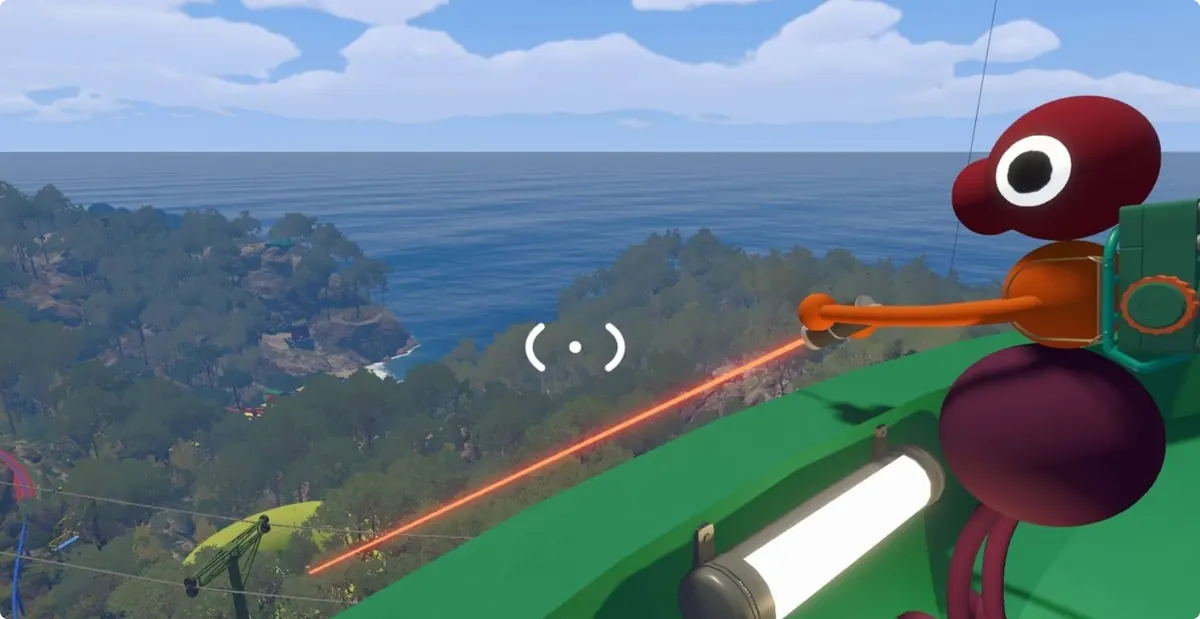
Puzzle 2 — The crane sync (3790,2250)
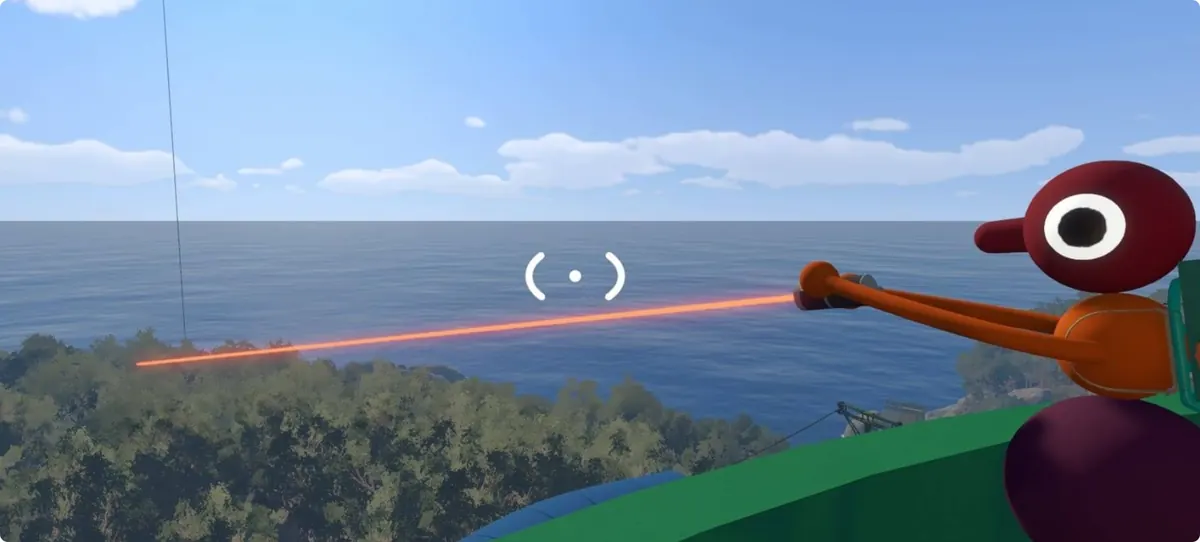
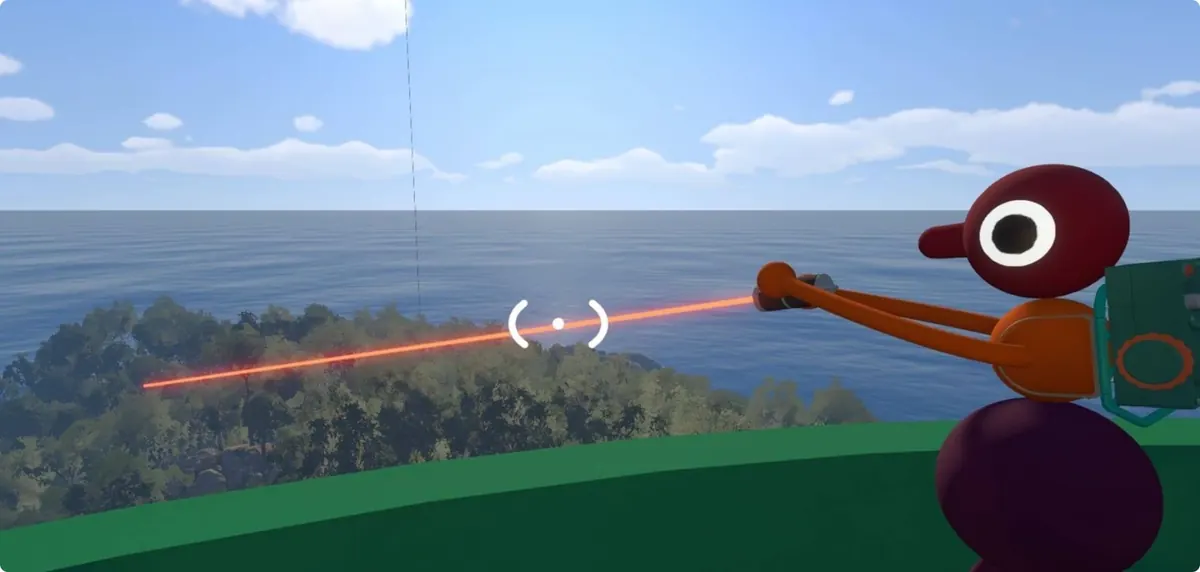
On the coast southeast of the blue tower, a giant beach crane spans two rock outcrops. Each outcrop carries a button post, and two players must press their buttons near-simultaneously — a small time gap is forgiven.
Field trick: put a lantern in the south player's hands. Press, then raise the lantern; the north player presses on the sight of light. If you have no lantern, arm gestures from the beginner tips list work nearly as well.
Puzzle 3 — Invisible ink memory (3740,2140)
Northwest of the crane, in a blue round building — and this is the mean one. The activation board outside reshuffles its answer every time it re-arms, so memorizing "the five symbols" from a previous attempt is worthless.
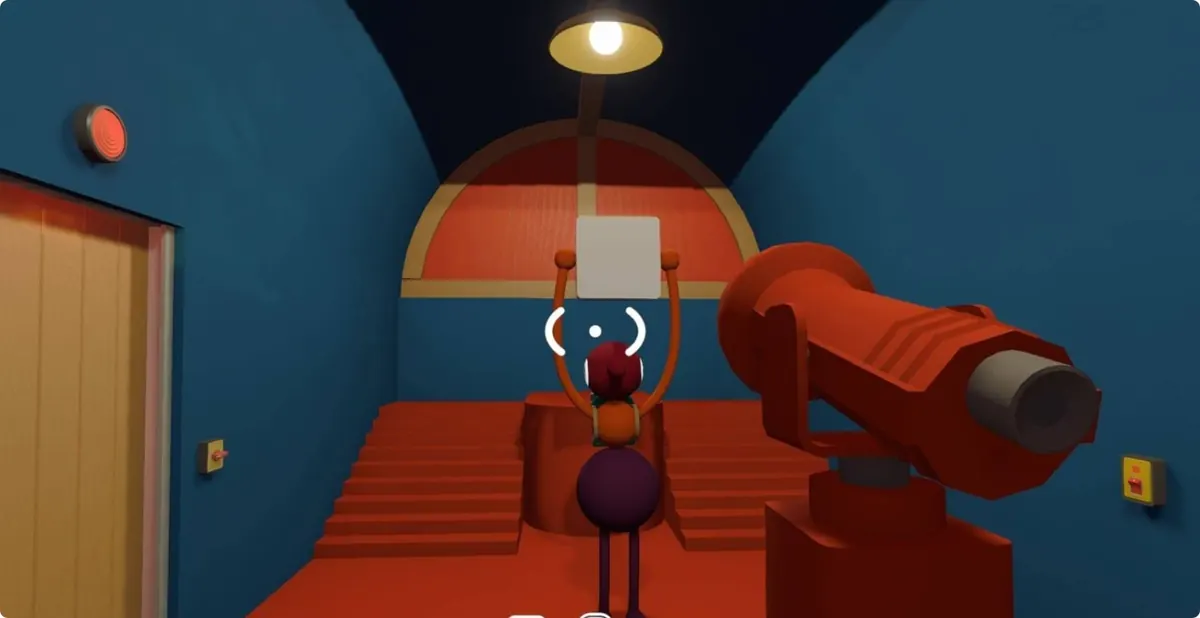
Inside sit nine tiles written in invisible ink. A lens mounted in the room reveals the writing, but its angle is fixed — so everyone else must lift tiles up into the lens's view while one player reads. All players must be inside for the reveal to work. Memorize all nine symbols (assign each a shape nickname), then head back outside to the activation board and input them in order.
Memory hack: prop each tile on the ground next to an outside object of similar shape before you go in, so your physical surroundings become your answer key.
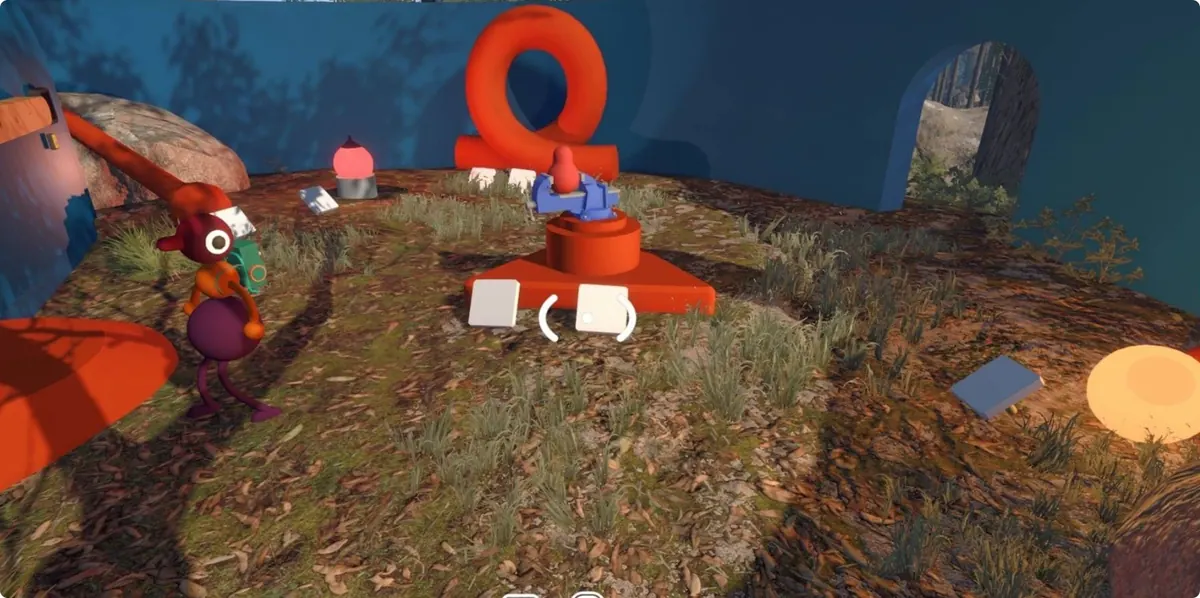
Puzzle 4 — Light-post minesweeper (4020,1870)
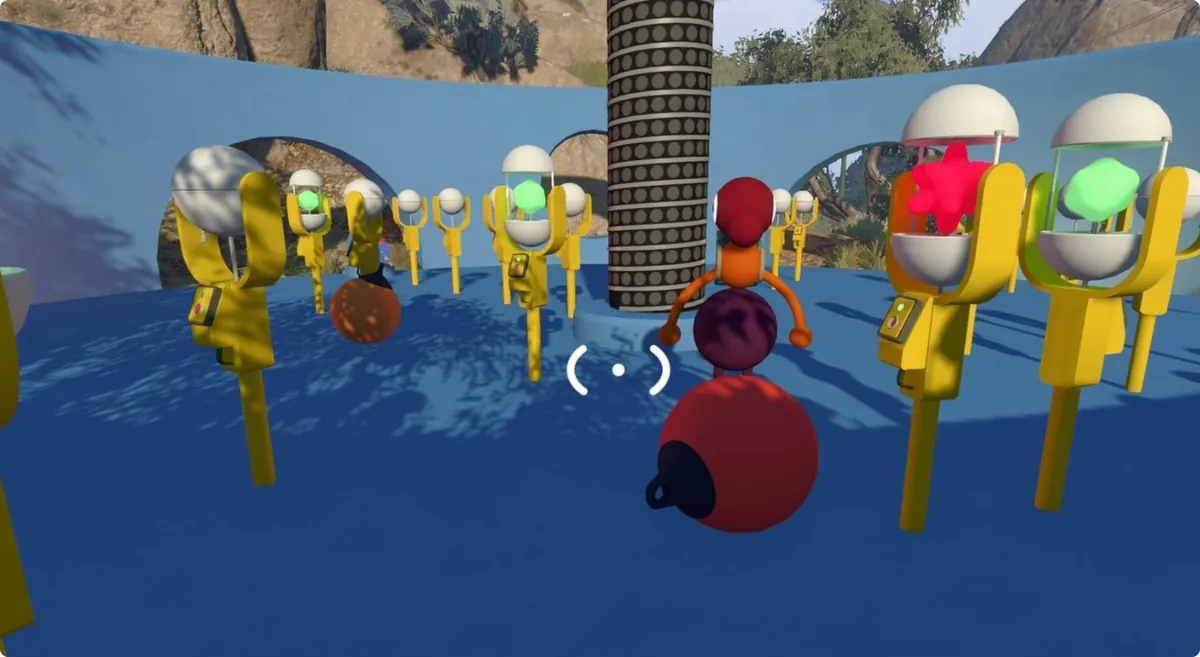
Southwest of the green tower is a blue circular pad that glows green at night — you cannot miss it. Yellow light posts cluster across the pad, each topped with a white orb hiding a lamp. Most are safe; some contain red stars, and pressing one of those resets the board.
Press the red button to activate, then work the safe posts one by one. The red-star posts are fixed in place — they do not reroll between attempts — so mark them the first time you find them: drop a pocket item or a lantern beside each one. Light every safe post and the puzzle clears.
Puzzle 5 — The counting field (4100,1880)
Due south of the light posts, a green field with ten blue lamps, a counter, and the activation button. Position your whole group so that together you can see every blue lamp's top — assign each player a subset of lamps before anyone touches the button.
The player nearest the button presses it, then scrambles back to the vantage point. White orbs on the lamps flash little black figures; count the figures on every lamp, wait for the flashing to stop, then climb the stairs and enter the total into the counter.
Shape the key at five cutting machines
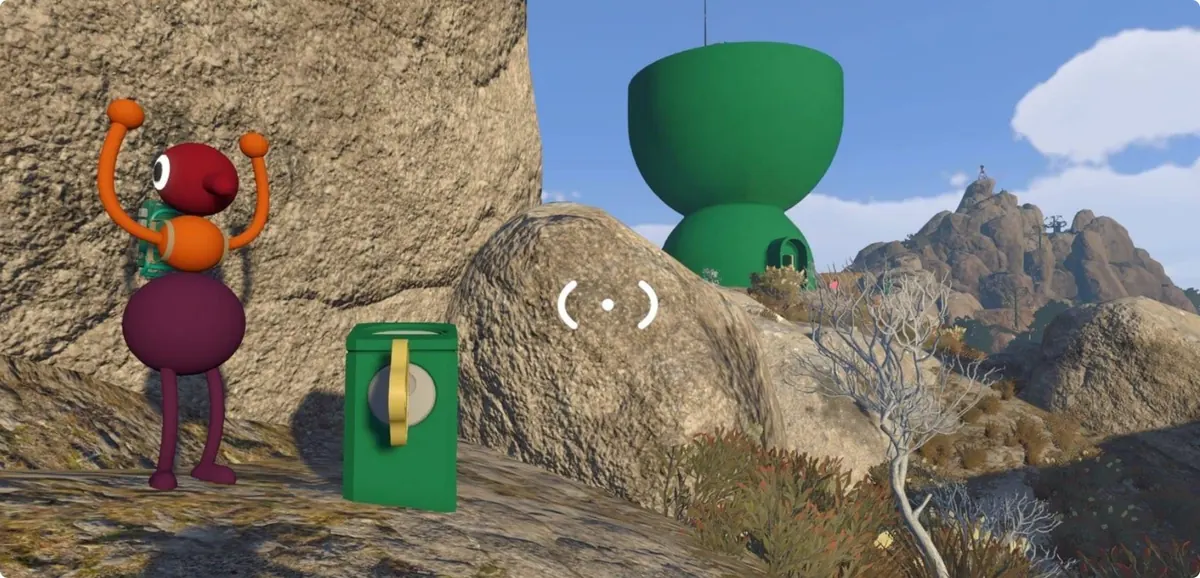
With all five puzzles cleared, collect the red parts, climb the green tower, and take the raw key from behind the control panel. The cutting machines are chained by arrows:
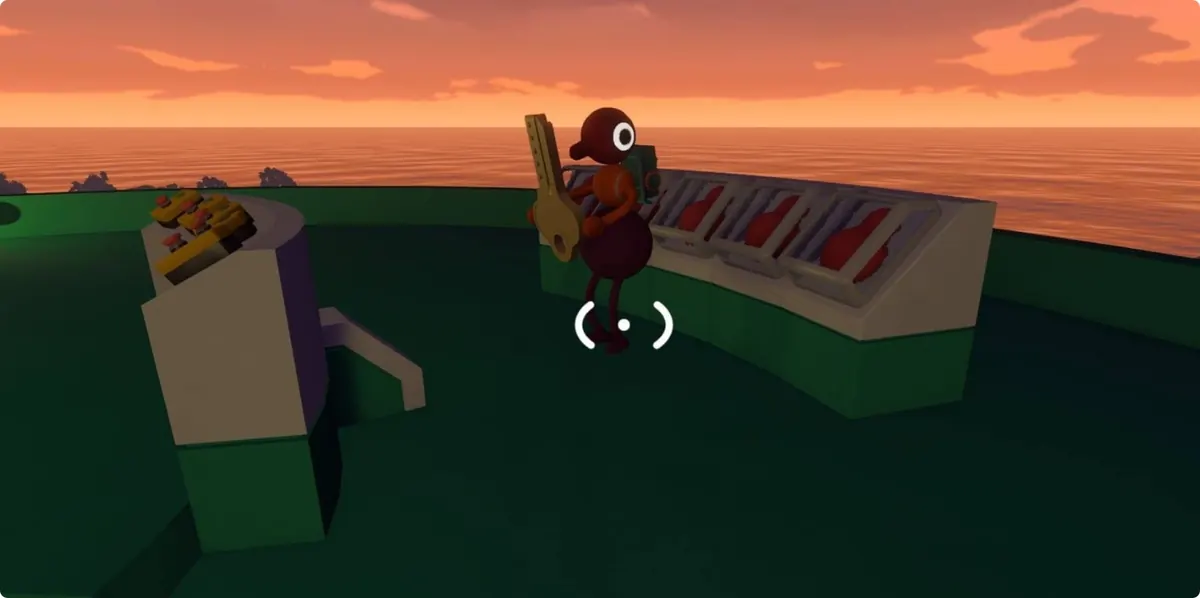
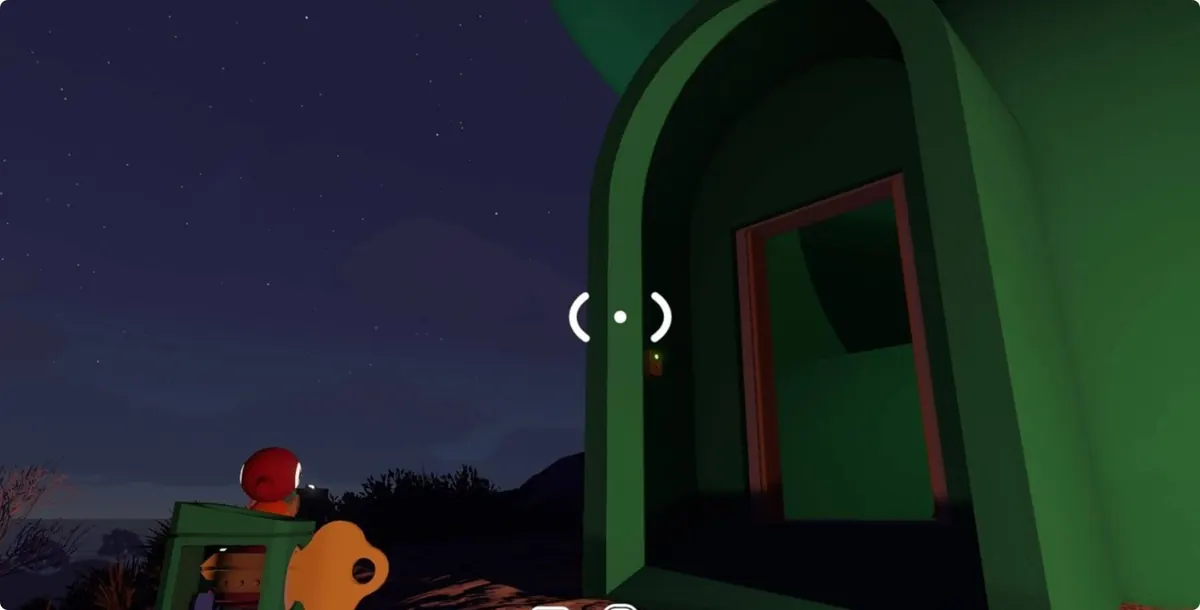
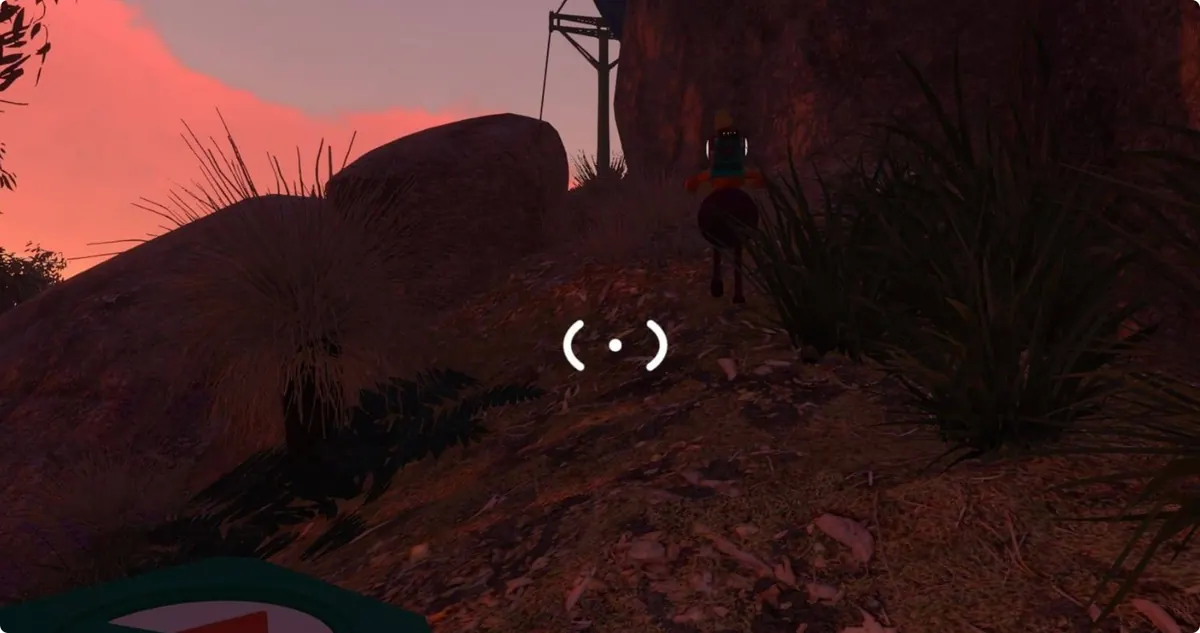
- Cutter 1 — at the green tower's own doorway; its arrow points downhill.
- Cutter 2 — beside a support pillar of the chairlift station.
- Cutter 3 — on the path linking the station and the tower; you walk practically over it.
- Cutter 4 — another pillar-side unit at the station; its arrow sends you back up to the mid-slope.
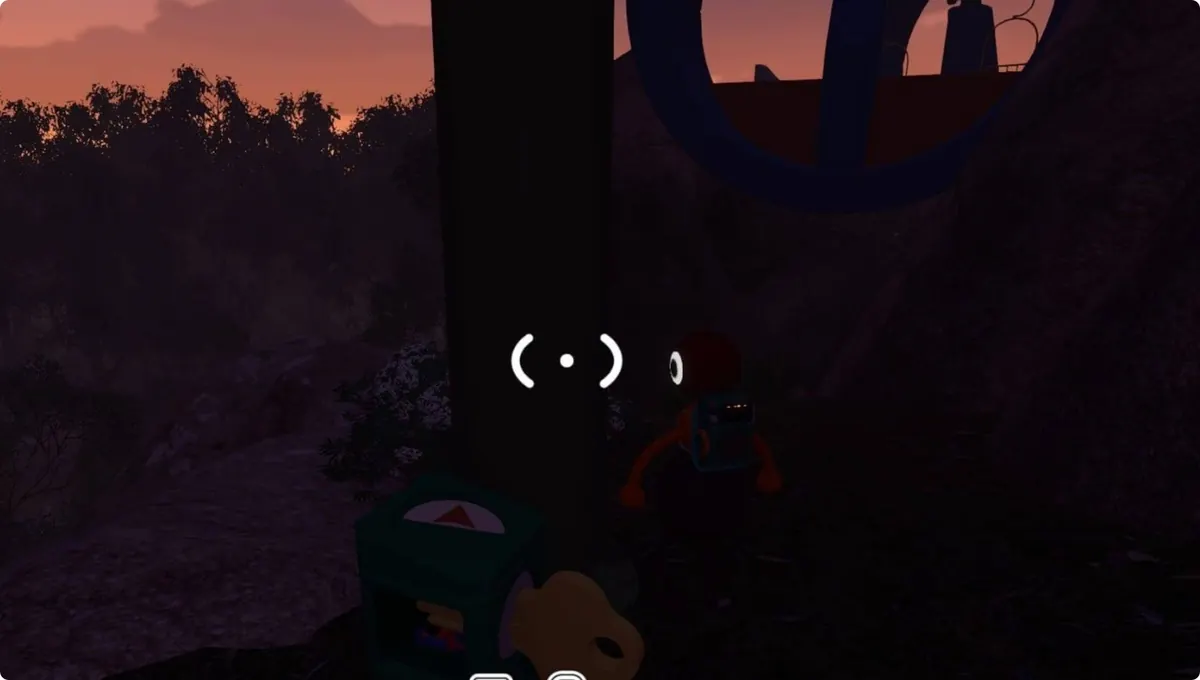
- Cutter 5 — on the huge boulder next to the chairlift.
Insert and ride
Walk the finished key back to the station at (3950,1950), slot it into the center console, and the chairlift lights up. Step into a cabin and the Big Sit achievement is yours. From here the heights open up — the purple challenges ridge on the island's far east side is chairlift territory, and radio transmitter #2 on the southern peak needs the lift's rope-bridge connection too (see the radio locations guide).