Big Walk Beginner Guide — Co-op Basics, Tower Order & First Steps
Published 2026-08-11Updated 2026-09-188 min read
New to Big Walk? Learn the co-op rules, the smartest tower order (red, yellow, blue, green, black), the trickiest early puzzles, and the mistakes every new group makes.
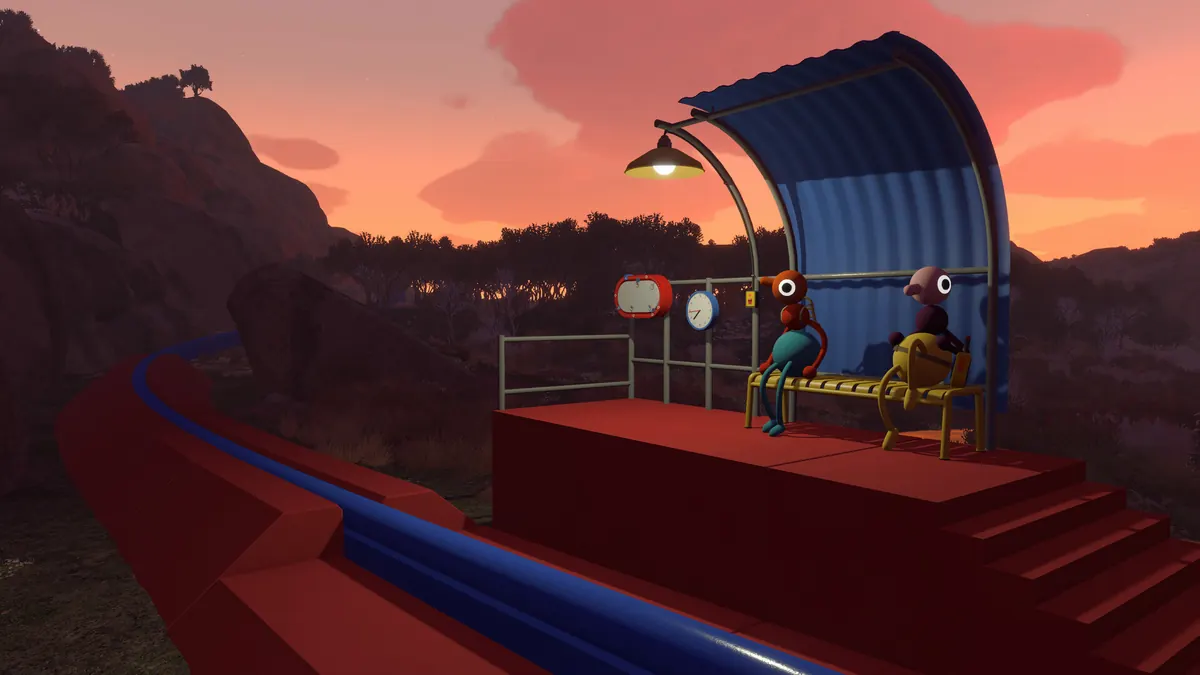
Big Walk drops two to twelve players onto a sunny island with no combat, no death, and no timer — just towers to crack, blorbs to collect, and friends to coordinate. It is a co-op puzzle exploration game at heart: most gates only open when several people solve things together, and progress is tied to one shared world. This starter guide walks you through what matters in your first hours: how hosting works, which settings to touch, the route through the towers, and the puzzles that trip up new groups.
Before you set out: hosting and co-op rules
Big Walk connects peer-to-peer, so there is nothing to configure and no third-party network tools to worry about. A session needs at least two players, and the standard roster caps at twelve. The host holds the entire world on their machine: every puzzle you solve and every map flag you plant lives in the host's save file. If the host logs off, the whole team's session ends with them, so pick the friend with the most stable schedule (and connection) as the permanent host. If your group rotates hosting duty, progress will not follow — the save stays with whoever hosted.
Two settings are worth changing before the first hike, especially for anyone prone to motion sickness:
- Controls — lower the camera sensitivity a few notches.
- Graphics — widen the field of view, which noticeably reduces the screen-wobble feeling while sprinting downhill.
Your first hour in the spawn hall
The spawn area doubles as an interactive tutorial. Work through the basic movement stations, then clear the starter puzzles plus everything in the red tower — that combination earns you a fully cut key and opens the blue map room.
Once the map unlocks, learn its shorthand: regions you have not cleared show a red gourd-shaped marker, and finished ones get a blue flag. The squat blue cylinder buildings scattered around the island are storage points that hold extra backpacks and hip packs, which expand how much gear you can carry. Our full breakdown lives in the backpack and hip pack location guide.
How falling, moving, and getting around actually works
Nobody dies in Big Walk. Fall from the tallest cliff and you simply stand back up — but whatever your character was holding scatters on impact. Small items are notorious for vanishing into tall grass, so memorize where you were standing when you dropped something. If an item does go missing, grab the scanner from the tower near the spawn area: it highlights every interactable object nearby, grass included.
Movement has a few quirks worth exploiting:
- Hop up slopes. Scree and rubble slopes can catch your character's legs; chaining jumps is faster than walking and shakes you loose when you get stuck. Going uphill, jumping the whole way is genuinely the quickest method.
- Use the terrain shortcuts. The mountain pass near the golf area cuts across the island, and the tunnel network (once open) beats every surface route.
Communication tools are your real inventory
Distance is the real enemy in Big Walk, and the game gives you a toolkit for it:
- Walkie-talkies keep you in contact once you wander past voice range — split up only after everyone has one.
- Red flare terminals stand at fixed points all over the map. Press the button and a bright signal pops into the sky, a rally point everyone can see.
- Laser pointers and flashlights work as long-range signals. A simple code goes a long way: one flash for "yes", two for "no".
The day/night cycle runs fast — roughly eight minutes of daylight and six of dusk — and a handful of puzzles only make sense in one or the other, so plan around the clock rather than against it.
The tower route: red → yellow → blue → green → black
Each tower spits out a key that unlocks a whole layer of the island. Clear them in this order and you will never backtrack.
Red tower — the map
Scout the starting region for five blorbs, carry them to the red tower, and assemble the red key at the slots on top. The finished key opens the map room next to the tutorial area, unlocking the Big View achievement. Before you even reach the tower, the entry drawbridge asks for four co-op puzzles: synchronized buttons on a raised platform, a symbol-matching room, four pillars pressed in sync, and a telescope number code. Our drawbridge guide covers each one.
Yellow tower — the tunnels
Five more blorbs become the yellow key, which opens the yellow gates and the tunnel network underneath the island. Tunnels shrink cross-island trips to seconds and unlock the Big Tunnel achievement.
Blue tower — the train
The blue tower hosts the island's classic stumbling block: a heavy ball that one player cannot budge alone. Two or more players relay it back and forth up to the pedestal. Finish the blorb set, craft the blue key, and the monorail-style train starts running — step aboard for the Big Ride achievement. Details in the train unlock guide.
Green tower — the chairlift
The green tower's five blorbs produce the key for the chairlift station, your fast link between the lowlands and the heights, plus the Big Sit achievement. It is the most coordinate-heavy tower on the island; the full puzzle-by-puzzle route with map references is in the chairlift unlock guide.
Black tower — the endgame
Bring six blorbs to the black obelisk for the final main-story key, which opens the great gate in the western wall. Clearing every tower leads into the standard ending, the Big Goodbye achievement — and behind it, the true ending path.
The true ending
After the credits, seven purple challenges spawn behind the purple gate near the eastern chairlift station. Finish all seven for the Big Game achievement and the 100% ending. They are pure co-op brain teasers; our purple challenges guide walks through each.
The puzzles new groups stall on
A few gates cause most of the pain. Quick versions here, full write-ups where linked:
- Telescope code. One player stays at the viewpoint reading digits or symbols while the other enters them at the far station. Without a walkie-talkie you are down to gestures and light flashes — agree on phrasing for each symbol before you split up.
- Basketball hoops (blue tower). Two players carry a bulb and gently lob it into each hoop. Short tosses with small adjustments beat full-power throws; every hoop turns green when it counts.
- Hourglass platforming (purple challenge). One player climbs to the first roof while the other grabs the hourglass and hurls it immediately, then boosts the climber up. On the stair section, jump straight for the higher step rather than hopping across at the same level, skip the zigzag rails, and favor the right side where the landing pads are wider. Have one runner and one thrower — two players on the stairs just wedge each other out.
- Many Lights. One player works the answer panel with the red light button; the other sees the lamp positions. One flash means yes, two quick flashes mean no, and a long burst means "reset, we misread each other". Narrow from walls to rows to the single lamp. More in the purple challenges guide.
Five mistakes that cost new groups hours
- Do not solo the map. Almost every gate is a multi-player mechanism; a lone hiker burns hours for nothing.
- Grab a backpack and a walkie-talkie first. Carry capacity and communication compound for the whole run.
- Haul items across regions. Plenty of puzzles want a prop from somewhere else entirely — plan freight runs instead of assuming everything is local.
- Skip the speedrun mindset. The game is built around wandering, sunsets, and messing about with friends; the fun is the walk, not the finish.
- Lost something? Scan before you search. The scanner highlights pickups through grass and gaps, which beats four friends crawling around a hillside.